At Besurvival, we love exploring practical ways to embrace self-reliance, and building a root cellar is a rewarding project that aligns beautifully with homesteading. If you’re looking to preserve fresh produce naturally, a root cellar can be a valuable addition to your homestead.
A root cellar is essentially an underground storage area that creates the optimal conditions for storing fruits, vegetables, and other perishables for extended periods. The cool, damp, and dark environment slows down spoilage and prevents produce from drying out.
Why Consider a Root Cellar?
Before diving into the building process, it’s worth considering what makes a root cellar appealing:
- Natural Refrigeration: It uses the earth’s natural insulation to maintain a stable temperature.
- Food Preservation: Helps extend the shelf life of your produce, reducing waste.
- Self-Sufficiency: Provides a backup storage solution in case of power outages or supply chain disruptions.
Planning Your Root Cellar
Location and Size
Location is crucial for the effectiveness of a root cellar. The site should have good drainage to prevent water from collecting. A north-facing slope is often recommended as it tends to be cooler.
When considering the size, think about the kind of produce you plan to store and your family’s needs. A good rule of thumb is to allow about 1 cubic foot of space for every bushel of food you plan to store.
Temperature and Humidity
Aim for a temperature between 32°F and 40°F (0°C to 4°C) and humidity levels around 85%. These conditions are generally sufficient for most root vegetables and some fruits.
Building Your Root Cellar
1. Digging
You’ll need to dig into a hill or create a below-ground space. If you have rocky soil, consider using machinery, although some opt for hand tools for a more manual approach.
2. Structural Frame
Use rot-resistant wood; cedar and redwood are popular choices. Create a sturdy frame to support your cellar walls and ceiling. Concrete blocks can form the walls if you want a more durable structure.
Example:
One homesteader I spoke to used salvaged materials like old barn wood and dirt mounds to create a well-insulated structure.
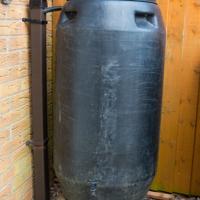
3. Ventilation
Proper ventilation is key. Install two vents: one near the ceiling for the exhaust and one near the floor for the intake. This allows the air to circulate and maintain the necessary conditions.
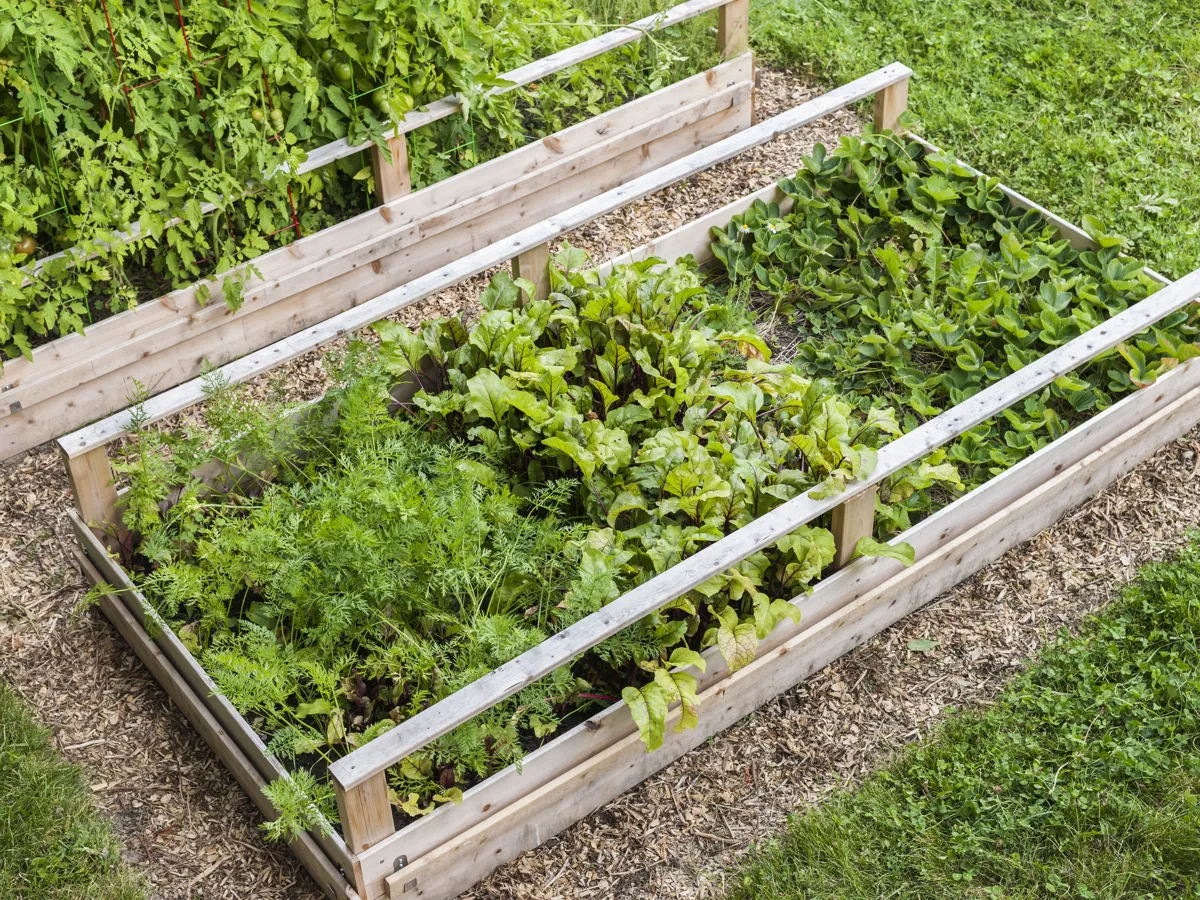
4. Shelving and Storage
Install wooden shelves or stackable crates. Make sure there’s room for airflow around each item. Consider labeling shelves for different produce types.
5. Finishing Touches
Add a door with a good seal to help maintain the internal environment. Insulating the door and ensuring it closes tightly can prevent temperature fluctuations.
Tips for Maintaining Your Root Cellar
- Monitor Conditions: Use a thermometer and hygrometer to keep an eye on temperature and humidity.
- Regular Inspections: Check for signs of rot or pests, which can quickly spoil your stored goods.
- Rotation Practice: Use older produce first to minimize spoilage.
Conclusion
Building a root cellar can be time-intensive, but it’s often a worthwhile project for those committed to homesteading. The concept may be simple, but each build can bring its own challenges and creative solutions.
With a bit of planning and elbow grease, you’ll have a functional space to store food through the months when fresh produce isn’t readily available. Remember, a root cellar is not just a storage space—it’s a step toward greater independence on your homestead journey.