Surviving in the wilderness requires adapting to the surroundings and using available resources wisely. One of the most important survival skills is knowing how to build a shelter. While each environment presents its unique challenges, understanding basic shelter-building principles can be vital for protection from the elements and ensuring your safety.
Assessing Your Environment
Begin by surveying your surroundings. The type of shelter you build depends largely on the climate, available materials, and terrain.
-
Location: Choose a site that is dry, flat, and free of hazards like falling branches or flooding risks. Avoid valleys or low points where water may gather.
-
Materials: Look around for natural materials such as fallen branches, leaves, moss, and large rocks. These resources will form the structure and insulation of your shelter.
-
Weather Consideration: Consider the prevalent weather conditions. Are you in a rainy, snowy, or windy area? The design might change to support waterproofing or windbreaking.


Types of Wilderness Shelters
1. Lean-to Shelter
The lean-to is a common and relatively simple shelter. It is ideal for milder climates and short-term stay.
- Materials: Long, sturdy branches for the frame, and smaller branches, leaves, or bark for covering.
- Construction:
1. Find two strong trees close enough to support a horizontal ridgepole that will serve as the backbone.
2. Lean smaller branches against the ridgepole at an angle, ensuring they slope backward.
3. Cover the frame with layers of leaves, bark, or anything insulating, starting from the bottom and working upwards to create natural shingling.
2. Debris Hut
Perfect for colder environments, a debris hut offers good insulation.
- Materials: A ridgepole, sticks, and plentiful dry leaves or pine needles.
- Construction:
1. Stick one end of a long branch into the ground and lean it against a solid object like a log or rock.
2. Place shorter sticks along both sides at an angle to create a frame resembling a tent.
3. Pile lots of debris (dry leaves, grass) over the frame, ensuring thickness to trap heat.
4. Enter feet-first, compacting bedding leaves inside to maximize warmth.
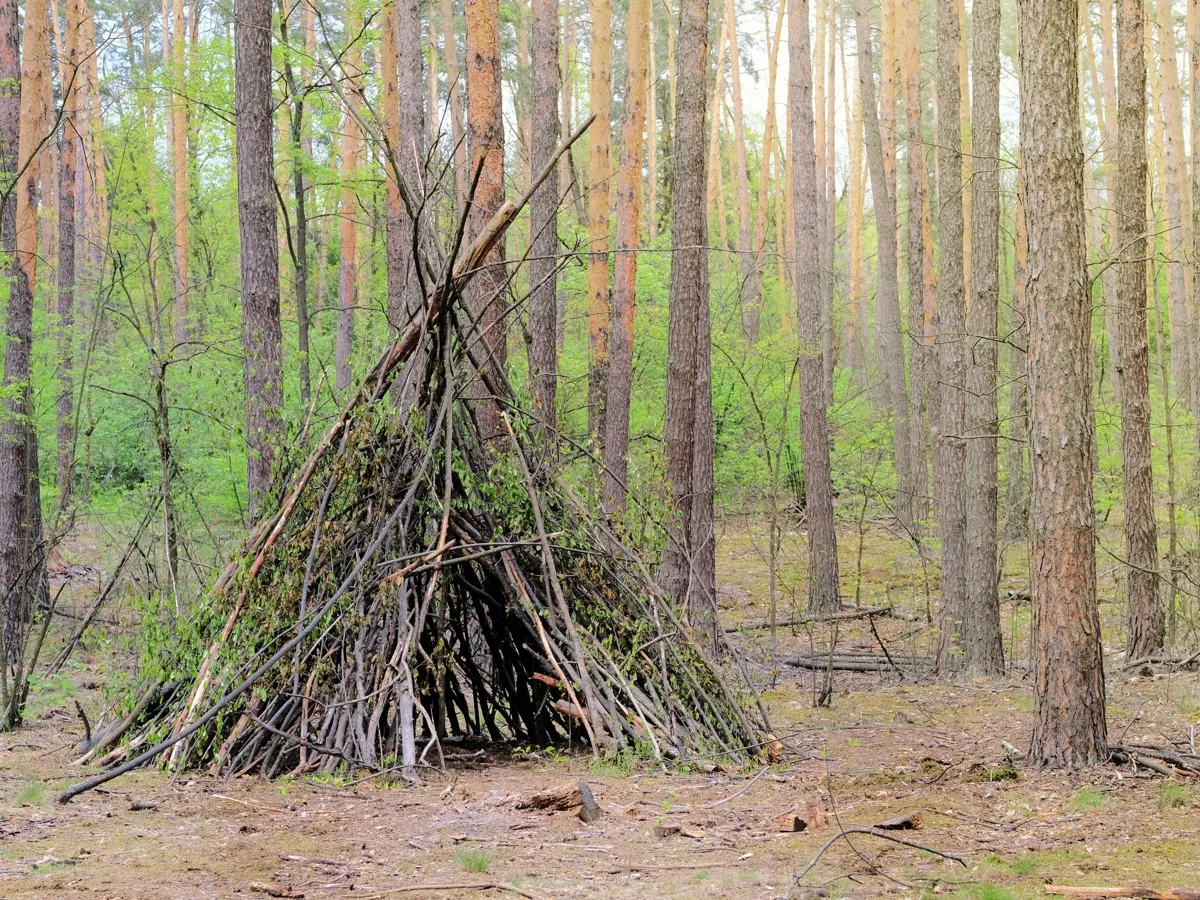
3. A-Frame Shelter
This option offers more coverage and is sturdier against strong winds.
- Materials: Y-shaped sticks, long ridgepole, and covering material.
- Construction:
1. Create two tripod structures using the Y-sticks and place them several feet apart.
2. Lay a long stick across the top of the tripods, forming an “A” shape.
3. Lean branches alongside the ridgepole, creating two solid walls, and cover them with available insulating material.
Tips and Considerations
- Insulation: Whatever shape your shelter takes, adequate insulation from the ground is crucial. Use leaves or moss to create a thick bedding as a barrier against the cold ground.
- Entrance: Face the entrance away from the prevailing winds and, if possible, towards the morning sun.
- Fire Safety: If you plan on making a fire near or inside your shelter for warmth, ensure proper ventilation and a safe, controlled fire setup.
Practice and Patience
Building a wilderness shelter is as much about ingenuity as it is about preparedness. Practicing these skills under non-survival conditions can provide confidence and better judgment when you need it most.
Remember, shelters don’t need to be perfect, just functional enough to serve their purpose. Each experience in the wilderness brings valuable learnings that enhance your adaptability and resilience.
By continuously learning and practicing these skills, you’ll become more adept at responding to the challenges that nature presents, nurtured by a profound respect for the natural world and its resources.