In moments of critical emergency, knowing CPR could make a significant difference. It is an important skill that might save a life. In this article, let’s explore the steps of performing CPR, all while being mindful of the need for continuous education and proper certification. Remember, nothing replaces professional training.
Why Learn CPR?
Cardiopulmonary resuscitation, commonly known as CPR, is a procedure used to manually restore a heartbeat and breathing in an unresponsive person. It is particularly useful in cases of cardiac arrest where time is crucial.
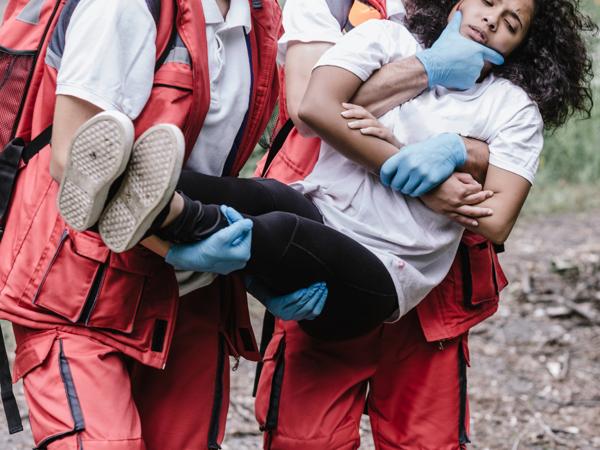
I once heard a story about a hiker who collapsed on the trail. A fellow hiker, trained in CPR, managed to keep him stable until medics arrived. Such anecdotes drive home the importance of this skill.
Initial Assessment
-
Stay Calm and Ensure Safety:
- Before you start, ensure the scene is safe for both you and the victim. -
Check for Responsiveness:
- Gently tap the person and ask loudly, “Are you okay?”
- If there is no response, proceed quickly. -
Call for Help:
- Call emergency services. Explain the situation clearly and follow any instructions given by the operator.
- If others are around, point and ask someone directly to make the call. -
Check Breathing:
- Tilt the person’s head back slightly, lift the chin, and look for normal breathing.
- Occasional gasps do not count as normal breathing.
Performing CPR
Compressions
-
Positioning:
- Kneel beside the person.
- Place the heel of your hand on the center of their chest, parallel to their nipples. -
Hand Placement:
- Place your other hand on top of the first, interlocking your fingers. -
Body Posture:
- Keep your elbows straight, and align your shoulders directly above your hands. -
Performing Compressions:
- Use your upper body weight to push down hard and fast at least 2 inches deep.
- The recommended rate is 100 to 120 compressions per minute. -
Between Compressions:
- Allow the chest to return to its normal position between compressions.
- Use something like the beat of “Staying Alive” by the Bee Gees as a rhythm guide.
Rescue Breaths
For those confident in their training, you may include rescue breaths.
-
Airway:
- Open the airway using the head-tilt, chin-lift maneuver. -
Breaths:
- Pinch the nostrils shut.
- Take a normal breath, seal your lips around the victim’s mouth, and blow into their mouth to make the chest rise, twice.
Cycle
- Repeat: Continue cycles of 30 compressions followed by 2 breaths.
- Assess Continuously: After about 2 minutes, reassess the victim.
- If aid arrives with a defibrillator (AED), follow the device’s instructions to potentially restore normal heart rhythm.
Considerations and Reflections
- Ongoing Learning: This guide is a starting point. Consider enrolling in a CPR certification course near you.
- Children and Infants: Techniques differ slightly for younger individuals. Specialized training covers these scenarios.
- Emotional Preparedness: Remember, having the knowledge or training is one thing, but applying it in real-life situations may be emotionally taxing.
Additional Resources
The following resources can be helpful for further learning:
By taking diligent steps and through continuous learning, you can be better prepared to help others in emergencies. While the hope is never to need CPR, being equipped with this knowledge is a valuable part of survival preparedness.


